
At home improvement and big box stores everywhere the springtime brings out the little greenhouse seed starting kits. I've purchased quite a few. But I kept having the same experience with peat pellets and the long, thin plastic trays. The pellets are too small. The plants don't thrive. They dry out really quickly once you move them into the sunshine outside. You have to transplant them quickly once they reach a larger size. They get root bound. And the plastic trays are really hard to move because the middle sags from the heavy, water-logged peat. I hated moving them outside every day to get some sunshine, then back in every evening when it was still too cold over night.
So I came up with two DIY greenhouse solutions that suited all my needs (and the plants') better. Follow along and I'll show you how to work with both.
All you need are:
Your seeds
Potting soil/seed starting mix/a homemade mix
A pack of plastic party cups
A medium to large plastic bin (a storage bin)
Plastic wrap
Scissors
A thumb tack
For about $2.50 I got a pack of 55 plastic cups. You could also use peat pots, I suggest the 3-4" kind.
Use the thumb tack to poke a few holes in the bottom of the cup (don't use the tip of a steak knife, tried it, ouch)
Fill about half way with potting soil, dampen, and plant seed according to package directions.
Put the cup inside another cup. Now you have a self-contained system. The second cup will catch the water drainage from the cup containing the plant and soil.
 |
| My Scarlet Flax seedlings already well started |

Now at this point there are two ways to proceed. At first, I wanted to have each cup sitting out individually on a window sill in the house where we are staying (while we wait to move into our new home) because it was still too cold to have them outside and that was the only sunny spot I had to work with. So I needed a way to have all my plants single file, but still covered in a way that would function as a greenhouse.
So METHOD ONE:
I got out another cup.
Cut off the widest part (the mouth) around the cup.
Cut a slit or two in the bottom (which will become the top, stay with me)

Then flip that upside down into a perfectly sized greenhouse cap with ventilation slits for your seedlings.
Viola!

Now I could move around the individual plants, put them outside on nice days, but easily bring them back in when it got chilly and line them up by the window to catch every ray of sun. The plants can grow nice deep roots and grow some good leaves before they will need to be moved.
Then I found a plastic storage bin sitting in the garage and was able to consolidate all my little cups for easy moving and extra heat trapping.
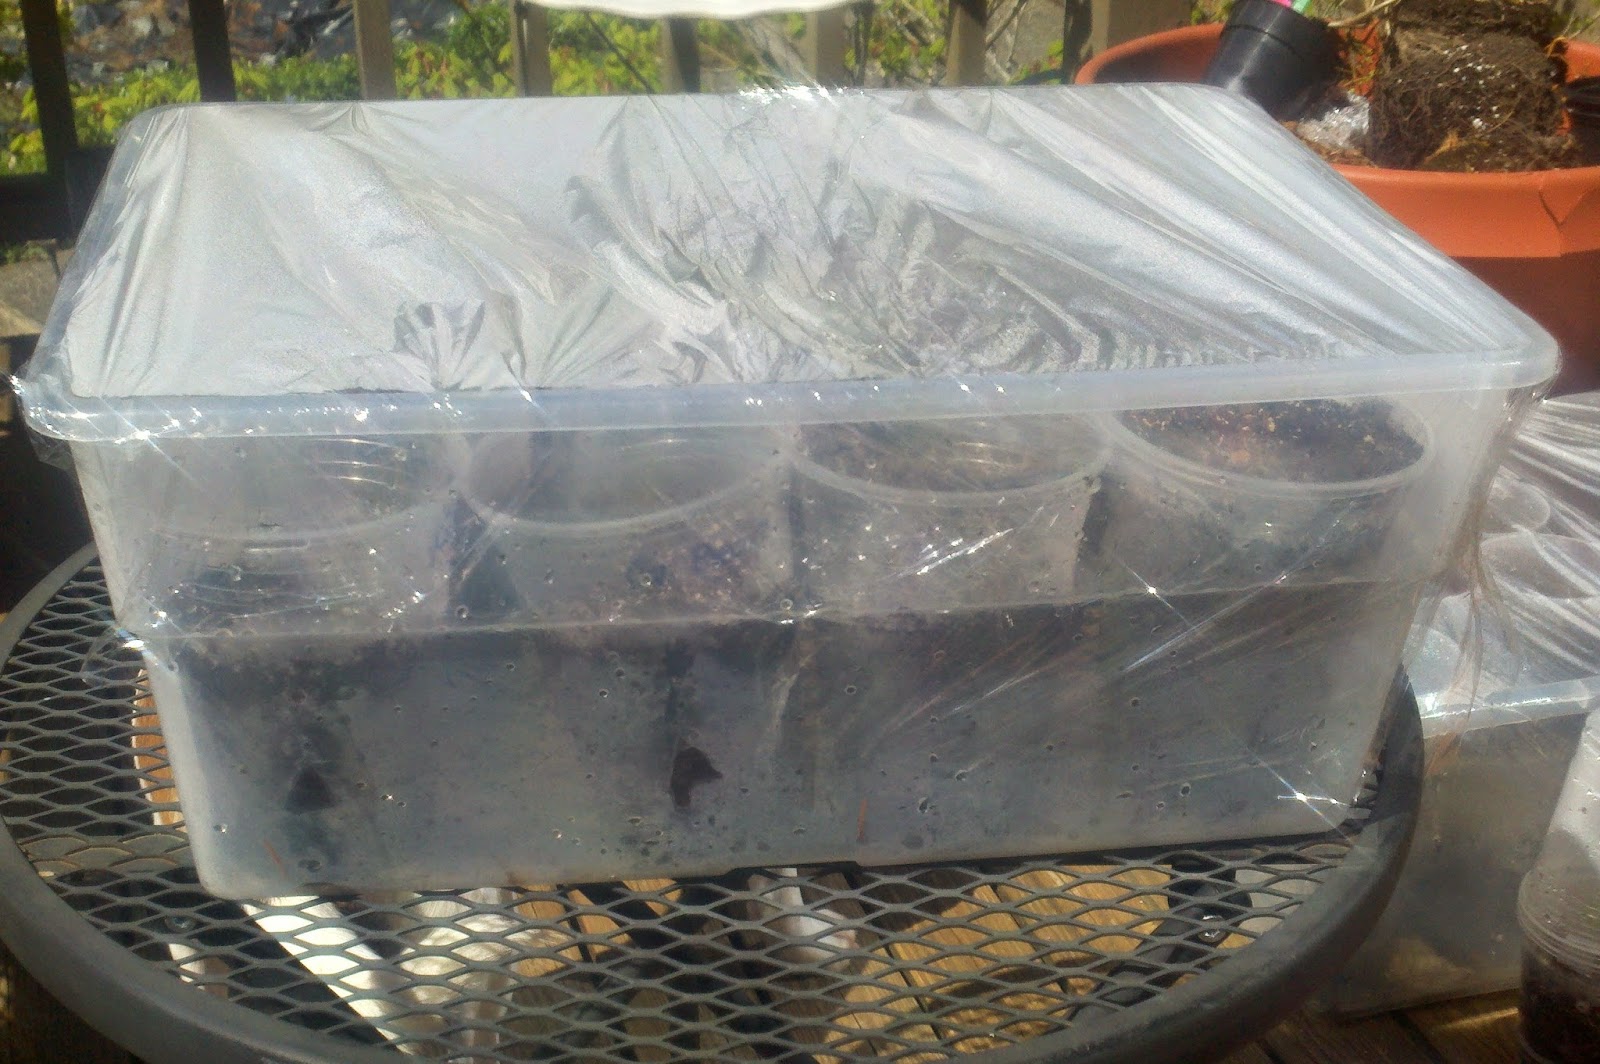
METHOD TWO:
Put all your cups (or peat pots, or plastic pots) into the plastic bin. Mine nestled in nicely.

Cover with plastic wrap. You now have an easily portable, sturdy, greenhouse with plenty of leg and head room for your growing seedlings!
Before your seedlings emerge you can leave the plastic wrap on tightly. Once they start popping their green leaves out of the soil open up a few little slits for them to ventilate. On a sunny day, if lots of condensation is gathering on the plastic, uncover half or more. You can always "tuck them in" again for the evening or carry them right inside.

Would this DIY method work for hundreds of seedlings? I did, in fact, start hundreds of seedling in a similar way in Kentucky last year! I used long storage bins that were designed to go under beds and peat pot strips, which left no space unused between pots.
But using plastic cups and smaller bins is a great and practical method for someone starting one or two dozen plants.
Making the self-contained, individual greenhouses would be a great project for someone in an apartment with only a windowsill on which to grow, or for children to have their own special plants to grow and care for.
Some of you may be thinking, "That is SO much plastic!" It is a lot of plastic. But excluding the plastic wrap - it is all reusable. If you are gentle with your cups, wash them, and dry them once you have transplanted your seedlings, you can use them for a few years. And even after that you can put them in the recycling bin.
Happy planting!
No comments:
Post a Comment